For Facebook Canvas Apps and Page/Tab Apps, you need a server with SSL. You can either buy a server with a certificate, or you can use the “Heroku Cloud Application Platform“. Up to 5MB space are for free, should be enough for smaller Apps. Just be warned, Heroku is pretty slow, it can take a few seconds until the Page responds.
The platform offers a lot of Add-Ons, you may want to check out the big list. The Add-On “Cron” offers a free daily Cron Job, or a hourly Cron Job for 3 Dollars per month.
Step 1 – Creating the Facebook App
Directly after creating a new Facebook App you can choose to use Heroku:

After the usual CAPTCHA, you can decide which language you want to use: PHP, Node.js, Python or Ruby:
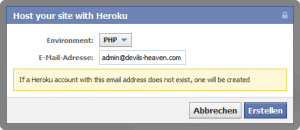
In the next step you will already get redirected to your new webspace, and you get the login data per E-Mail if you didn´t have a heroku account. The necessary App settings are filled in already, it´s good to deactivate unneccessary integration points:
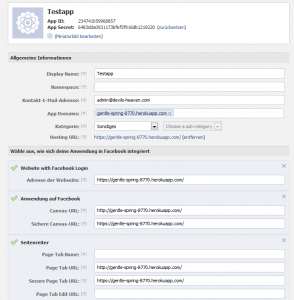
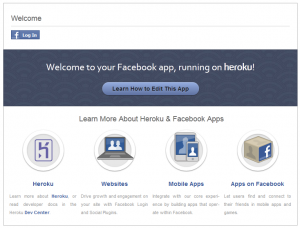
Heroku creates a subdomain, which is “gentle-spring-8770.herokuapp.com” in the screenshot. You can easily change the subdomain if you just login at heroku.com. You can use the app already, just try to login at your test page:
Step 2 – Editing the Source
Creating the Facebook App with Heroku was simple, editing and uploading the sources is not. You can´t just use FTP and push your files to the server, Heroku uses the version control system “GIT“. The following steps are based on Windows, although the differences on other systems should be marginal.
First, you have to install the Heroku Toolbelt: https://toolbelt.herokuapp.com/
It includes the Heroku Client, a tool to test your code locally (Foreman) and GIT.
After installation, you either start the Windows command line or “Git Bash” (on your Desktop after installation). I prefer Git Bash because it comes with colors 🙂
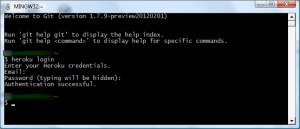
Connect to Heroku with “heroku login”, if you get asked to create a “public key” just answer with “Y”. After that, go to your work folder and use “git clone” to get the source of your app:
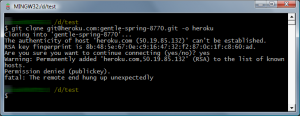
…or you don´t. Until now, it´s all in the official Facebook/Heroku tutorial. In theory, a key should be generated right after connecting to the Heroku Server with “heroku login”. It does not always work, for example if you switch to another computer and want to use the same login data. Nevertheless, we can create the key on our own and register it on Heroku:
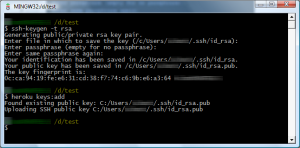
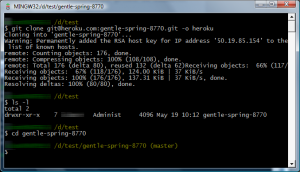
Everything should work now, the source will get downloaded and you can switch to the created project folder:
Now we just need to change the source and test the upload/commit. Open “index.php” in your editor of choice, make a small change and save the file. Now commit your changes with a message (git commit -am “nice change”) and push the changes to Heroku (git push heroku master):
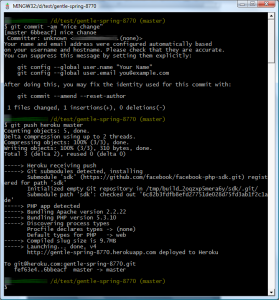
Seems to work, you can test it by opening the URL of your Facebook App in the browser again:
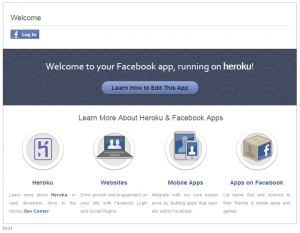
See that small “test” string at the bottom of the page? It worked 🙂